2. Setup your first UMH instance locally
2 minute read
Requirements:
Adding Device
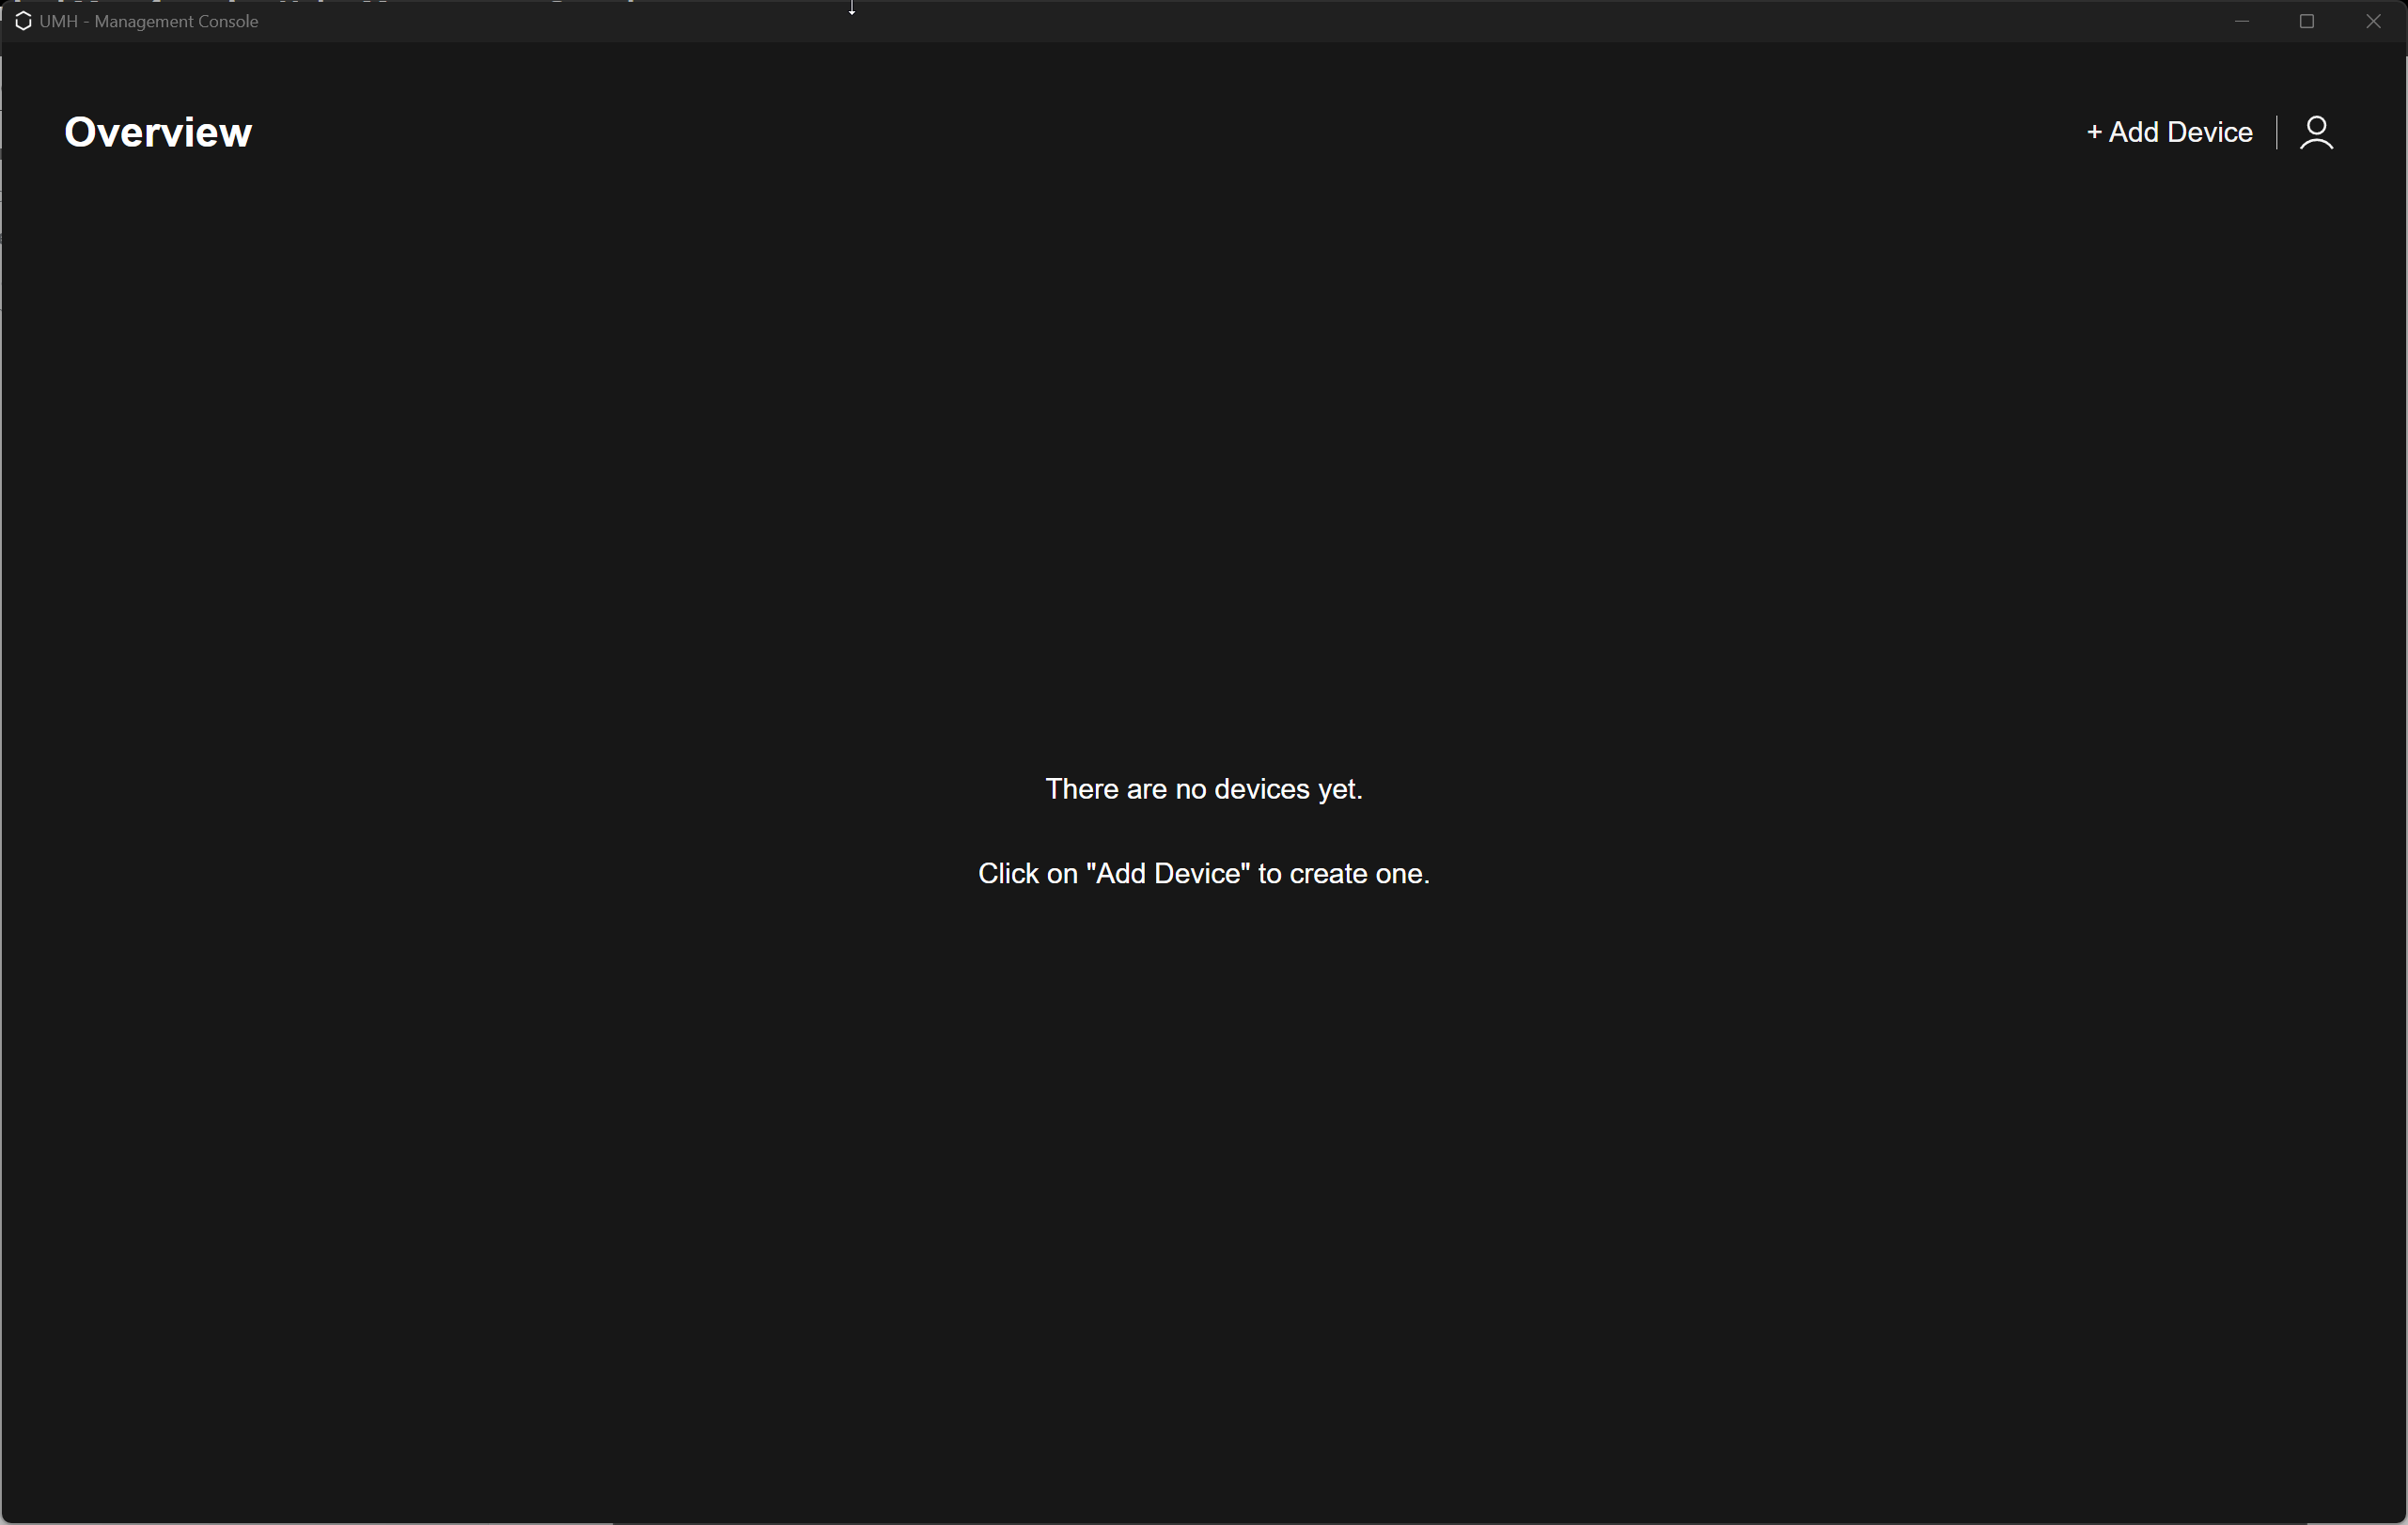
The “Overview” in the Management Console allows you to view your currently installed devices and add new ones. To install a new device, simply click on the “Add Device” button, which is located in the top right corner of the management console interface.
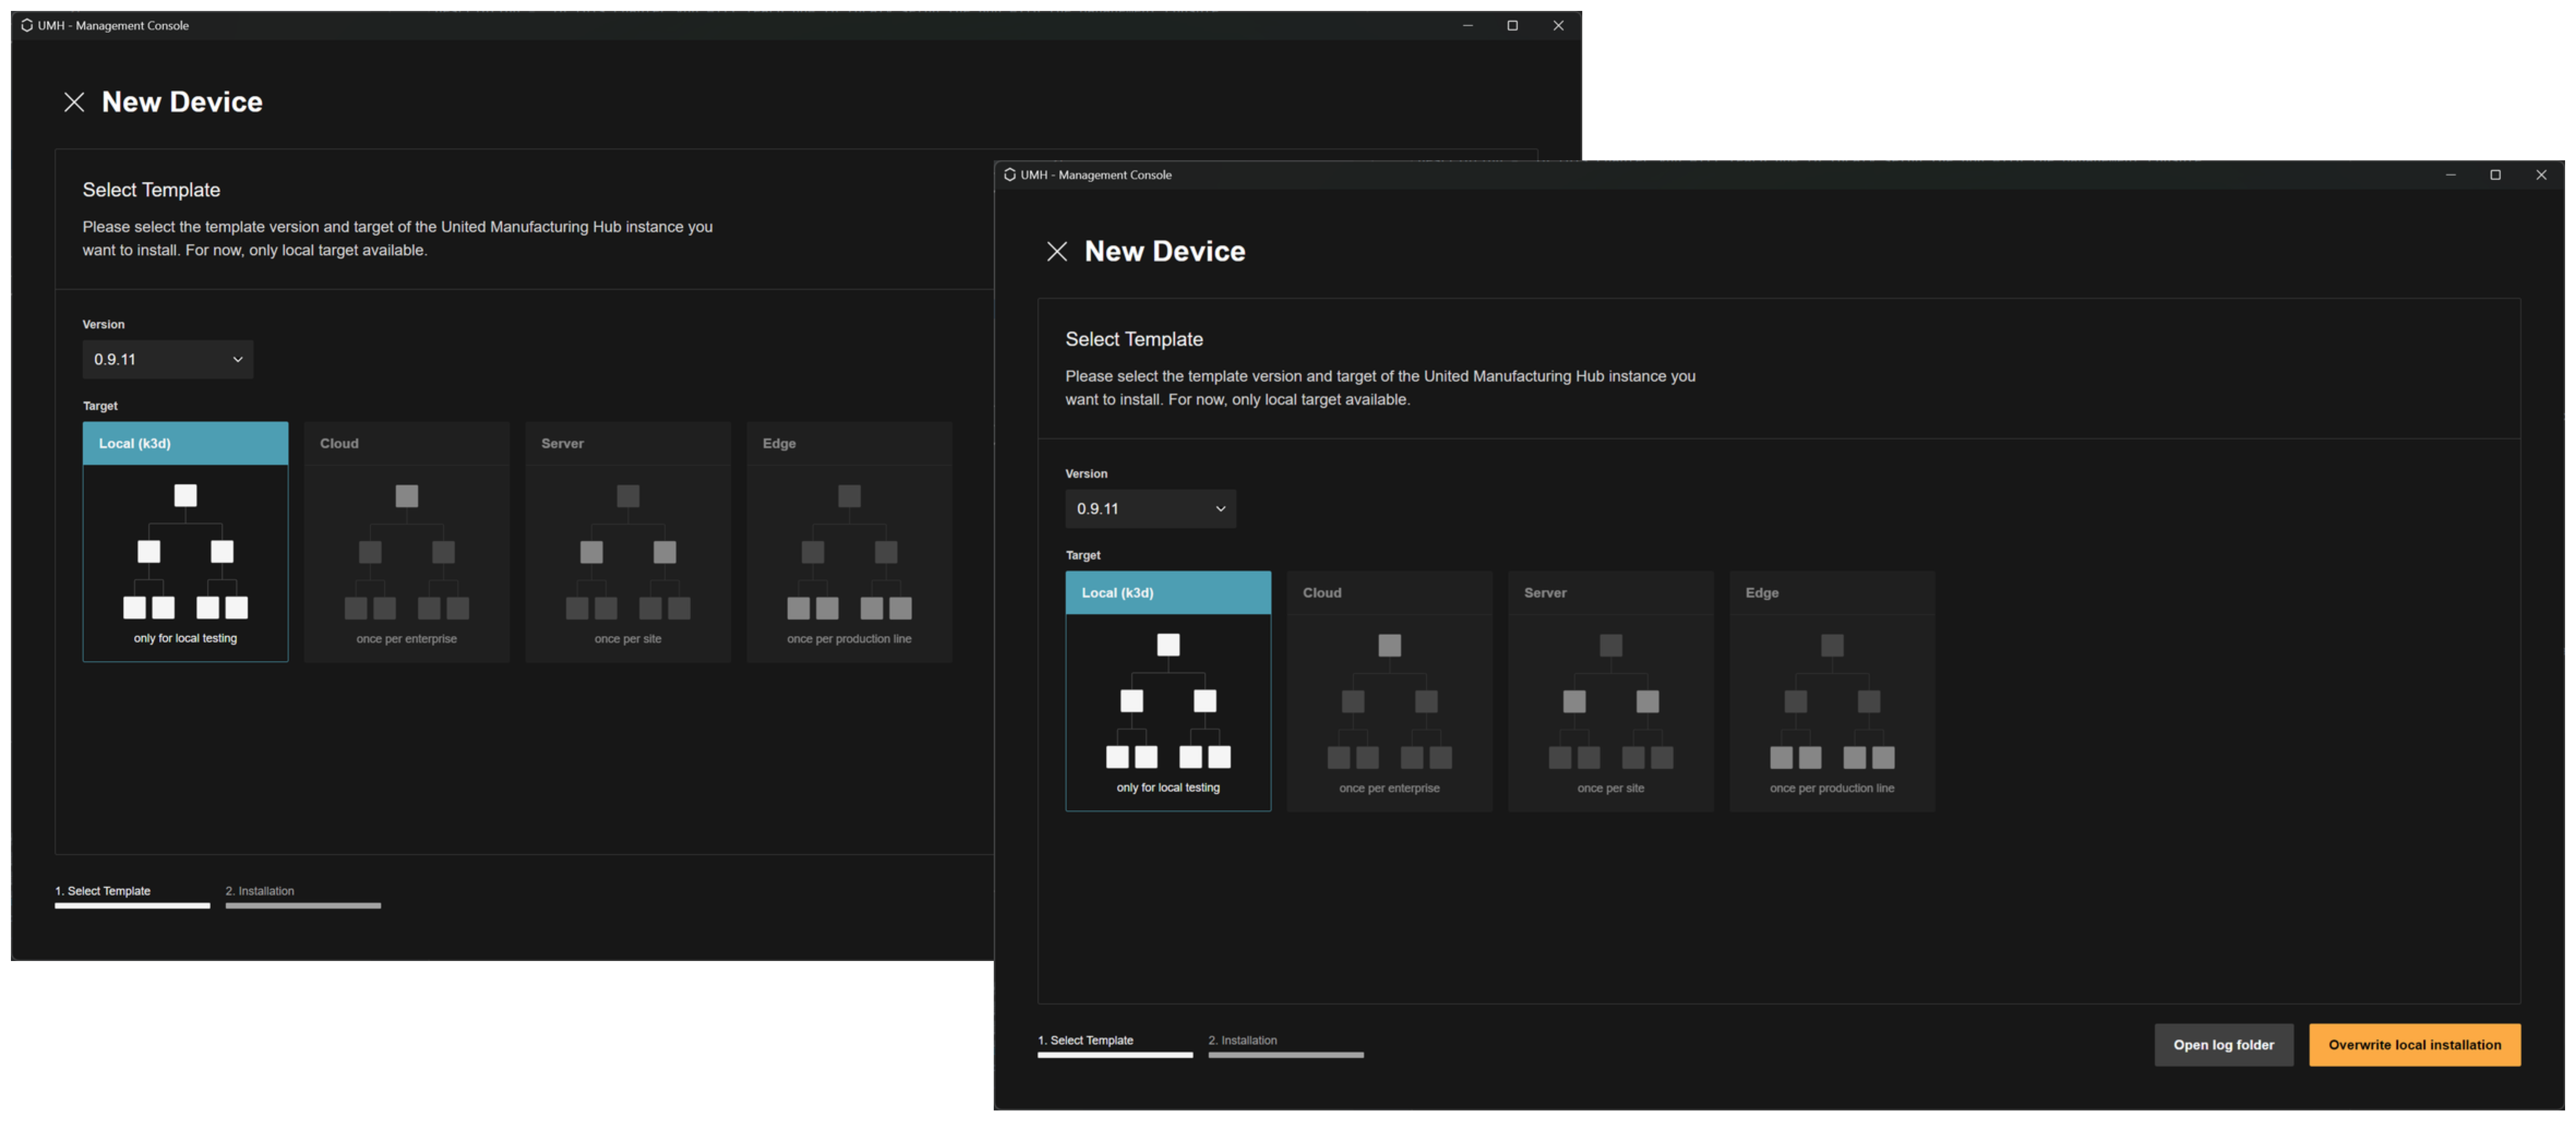
When you click on “Add Device”, you will be asked to select the template version and target for your United Manufacturing Hub instance.
The version selection shows the available versions of UMH that can be installed. In the target selection, you can choose where you want the installation to take place. Please note that currently, only a local target is available. Once you have made your selections, click on the “Continue” button to initiate the installation process.
If you see the option “Overwrite local installation” instead of “Continue”, please be aware that clicking on it will remove the previous installation of the UMH and delete all associated data.
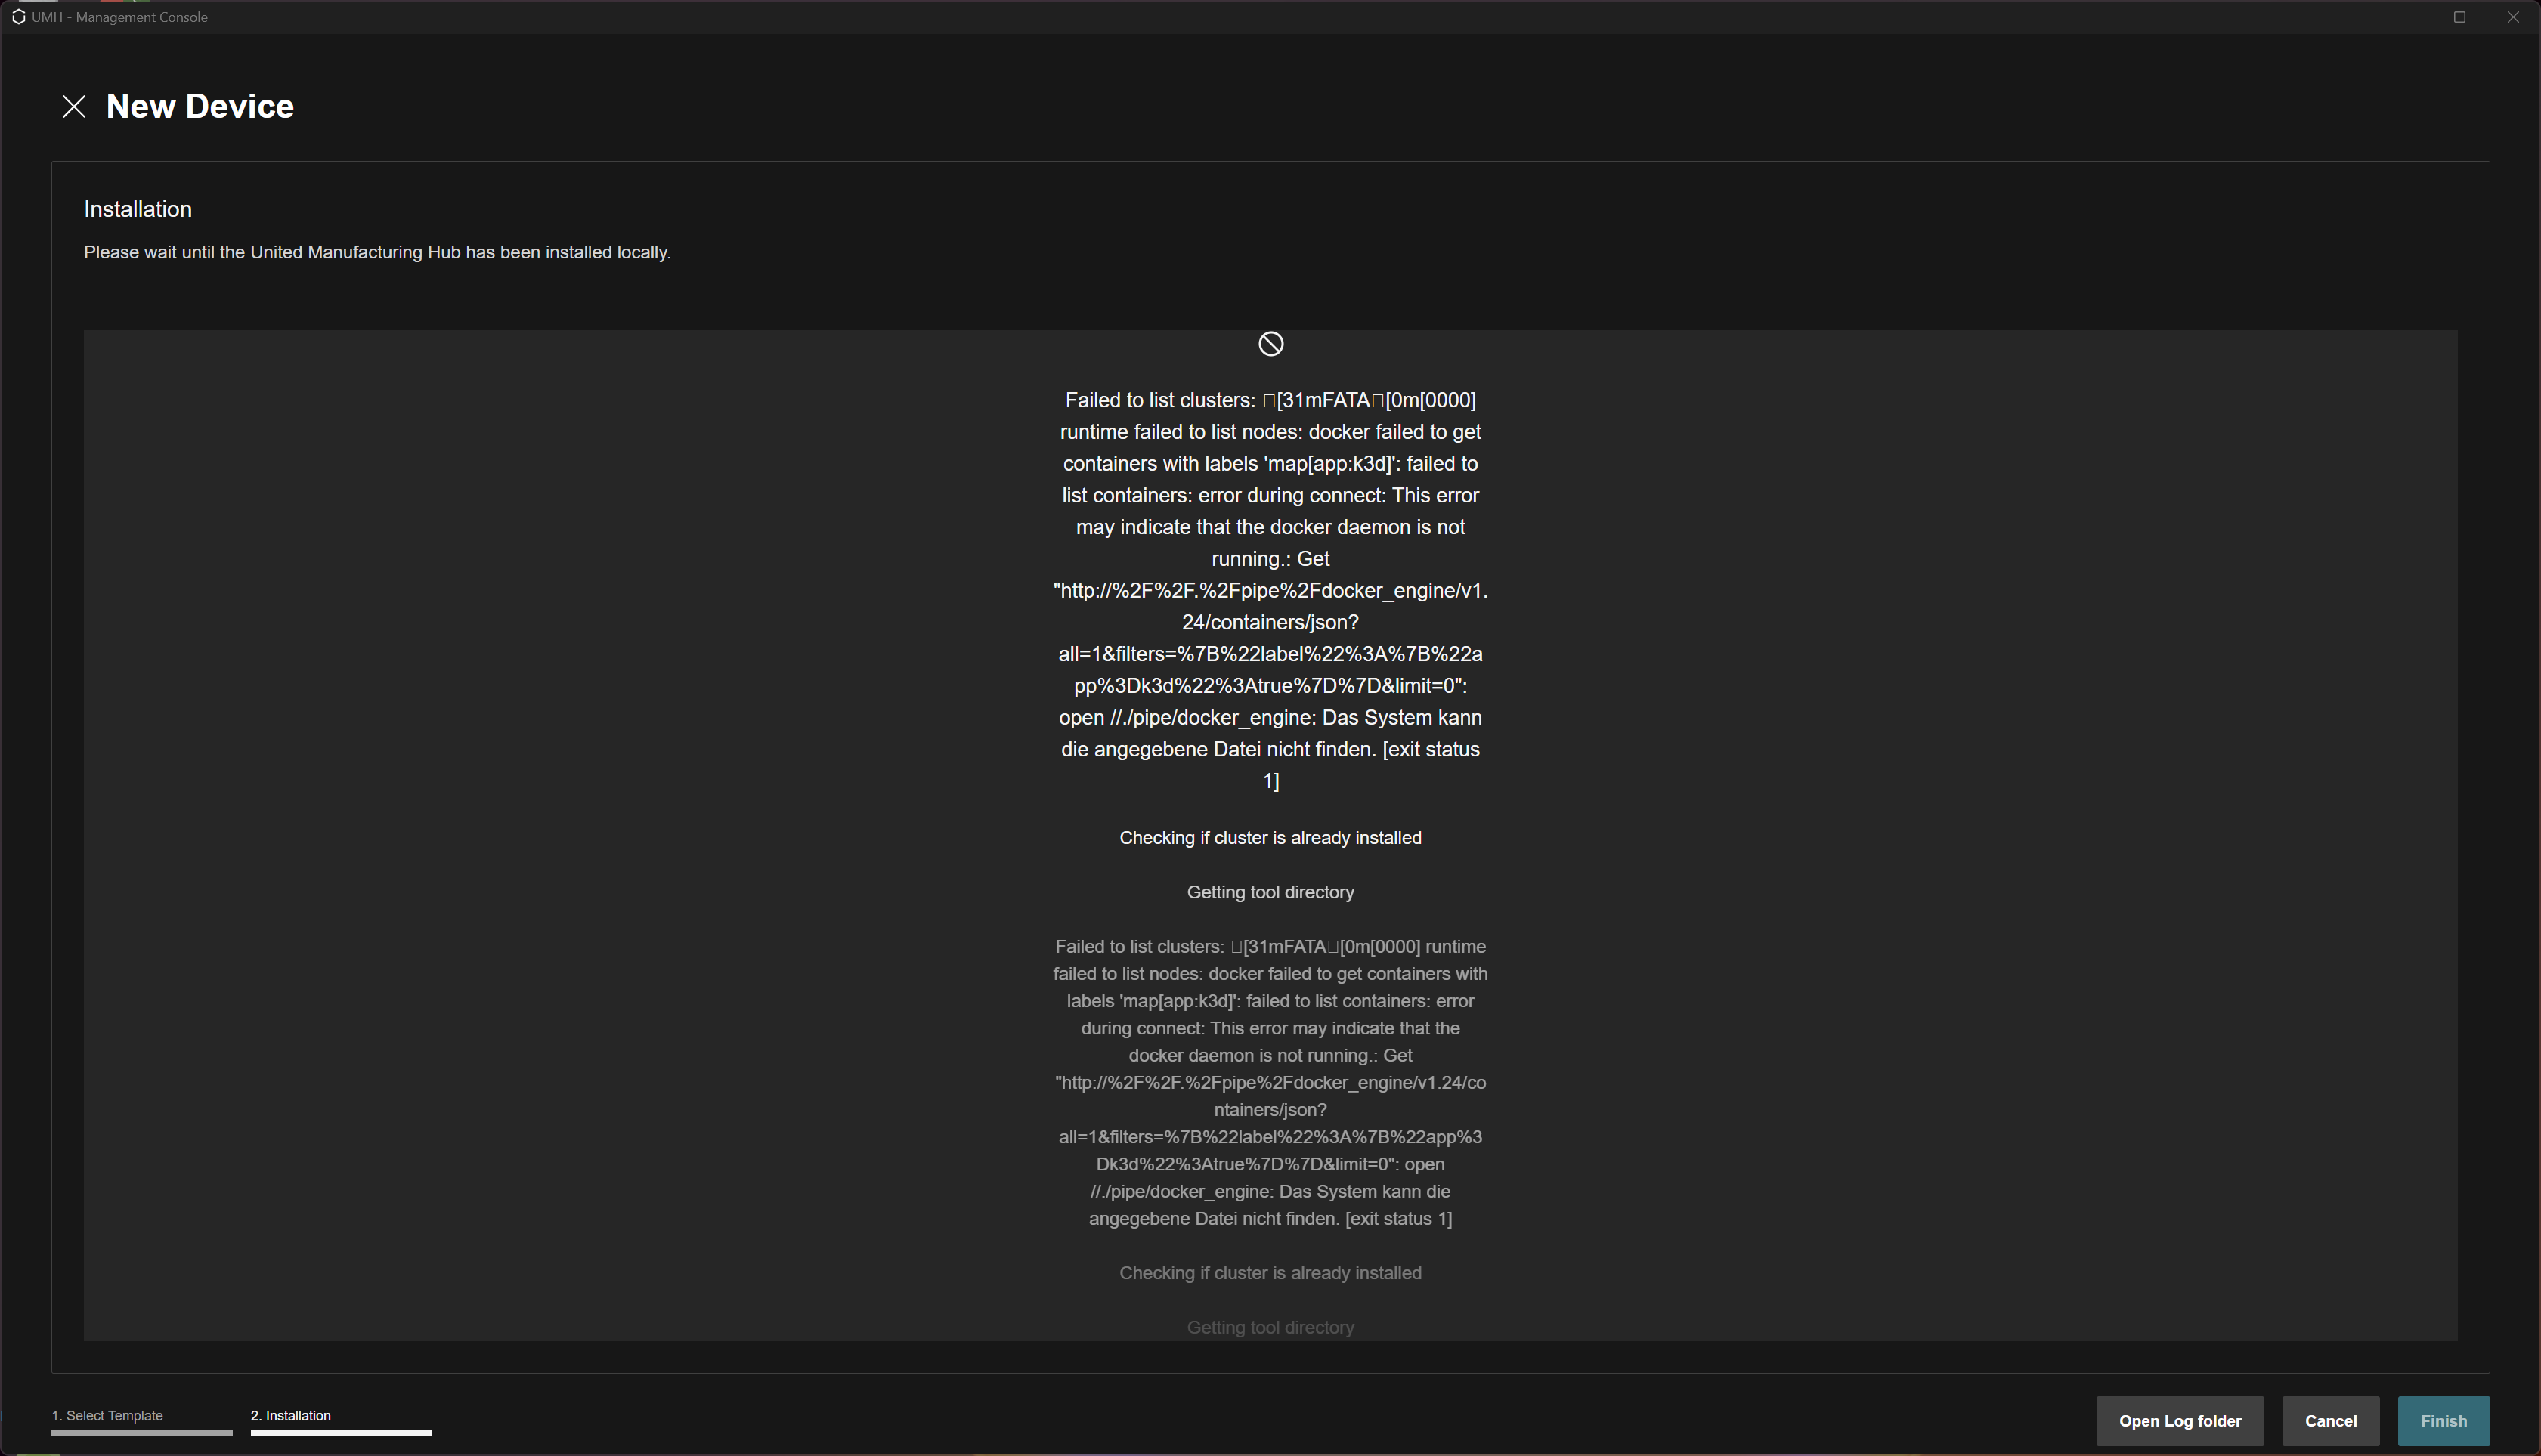
In the event that the installation process fails, you can access the Log Folder to view the installation logs (click on “Open Log Folder”). These logs can be provided to our team to help troubleshoot the problem and find a solution.
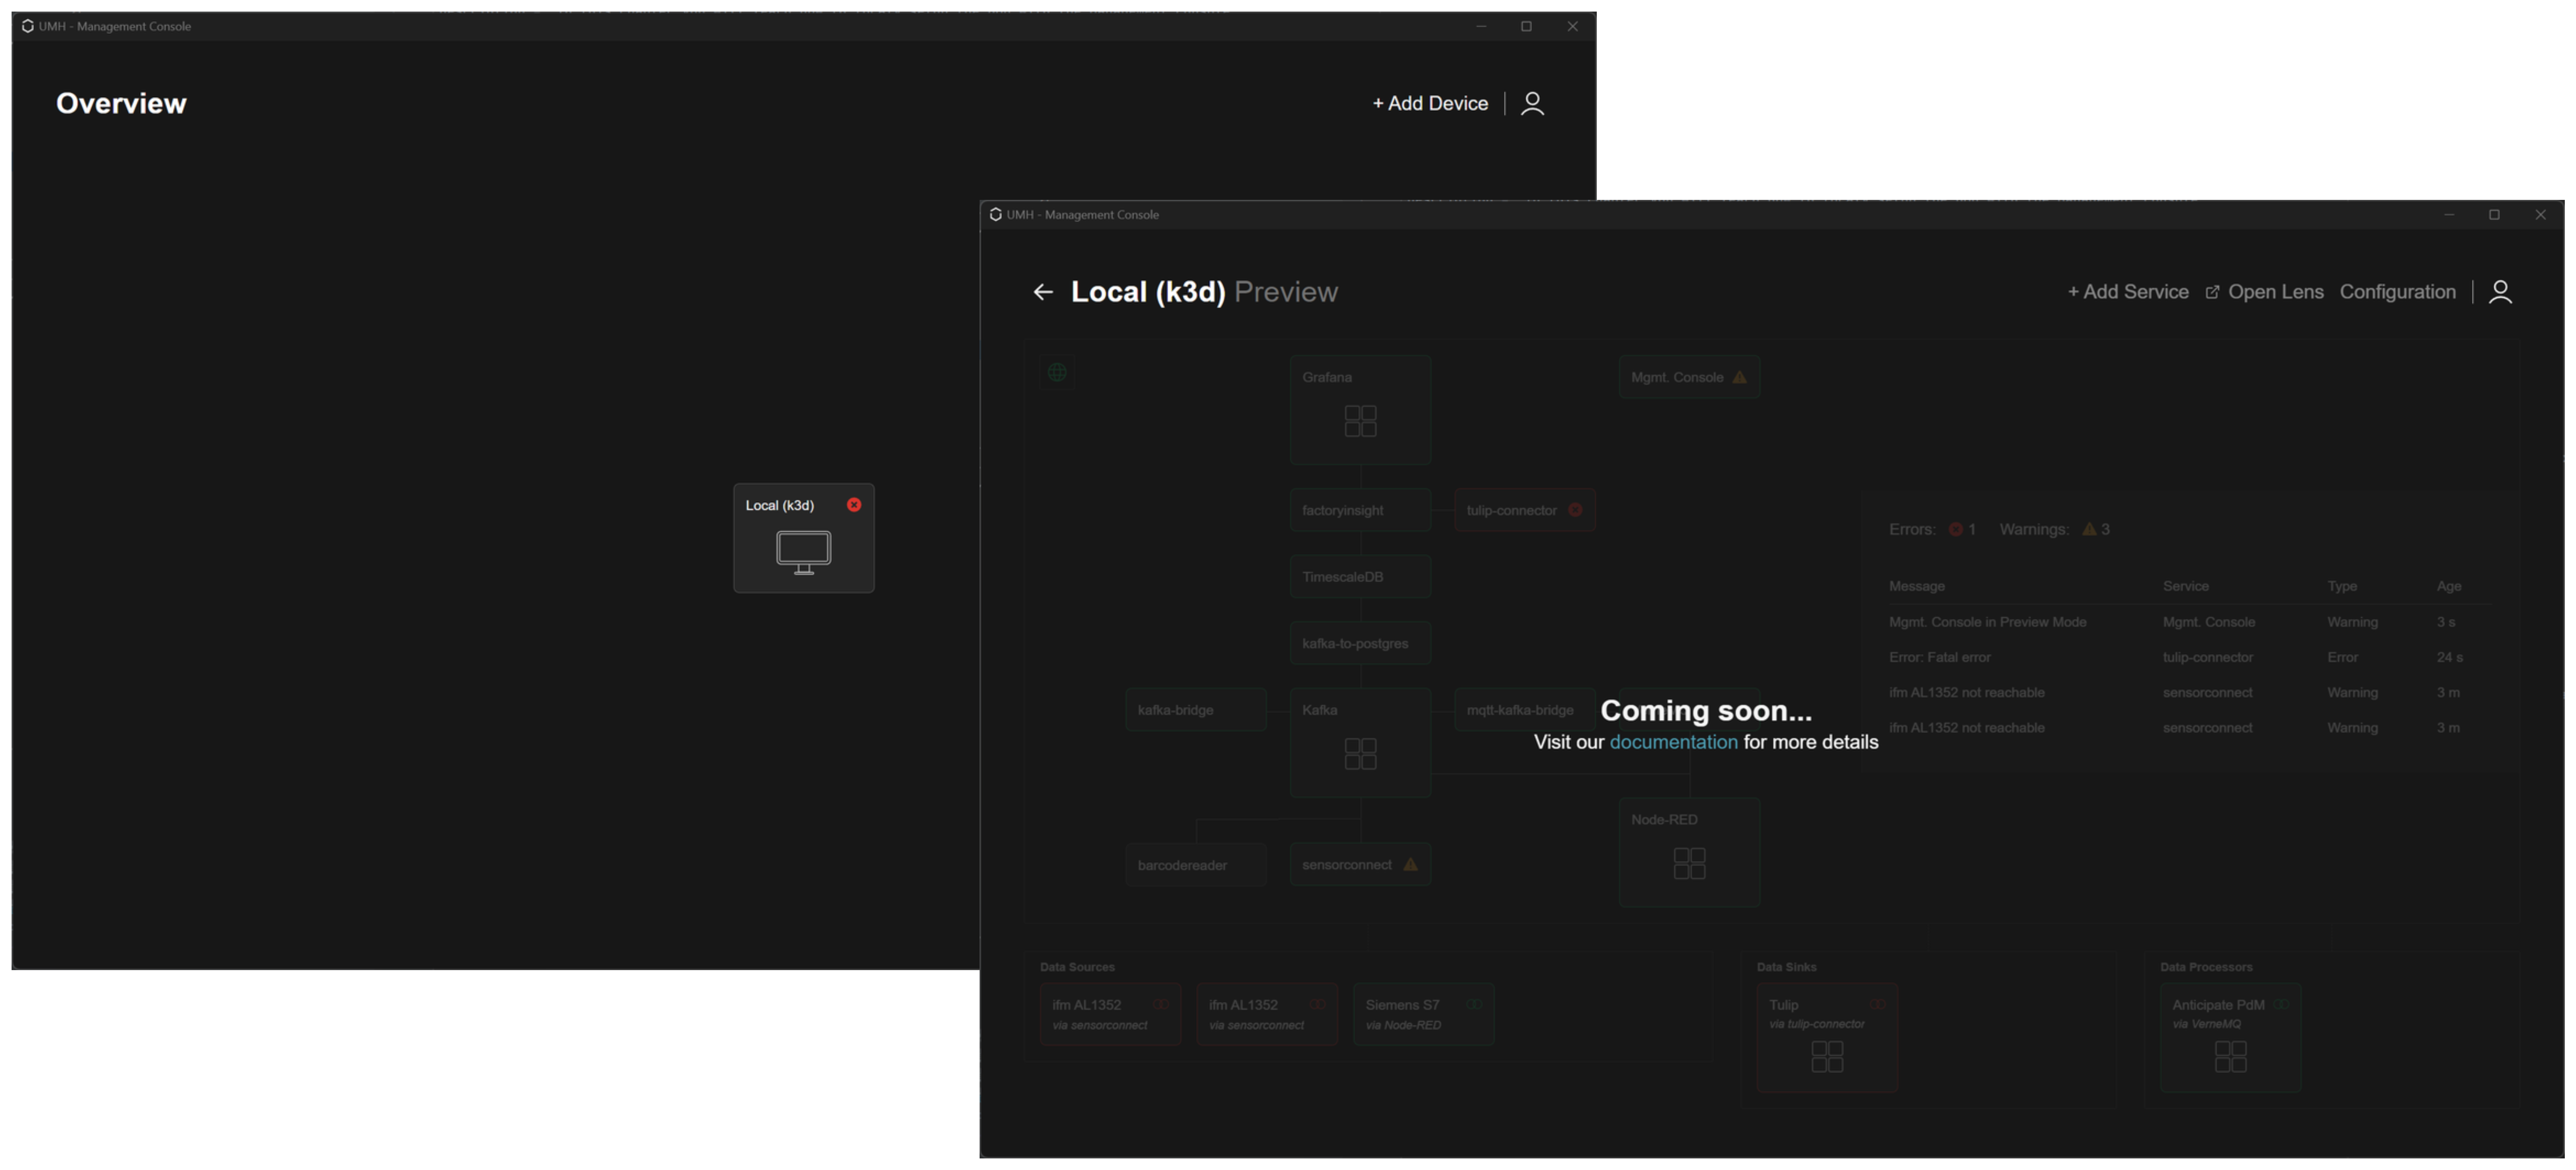
When the installation process is complete, click on the “Finish” button to get back to the “Overview”.

Congratulations! You have successfully installed the UMH stack on your local machine. You can now click on the stack to manage and monitor it.
What’s next?
You can now proceed with managing and monitoring your first instance.