1. Download & install
2 minute read
Requirements:
- Windows 10 with at least 4 cores, 8 GB of RAM, and 20GB SSD with admin privileges
- Docker Desktop installed (required for the next chapter)
If your computer meets these requirements, follow these steps to download and install the Management Console:
Download the latest version (Windows x64)
Now proceed with the installation.
Installation
The installation dialogue opens. Click “Next”
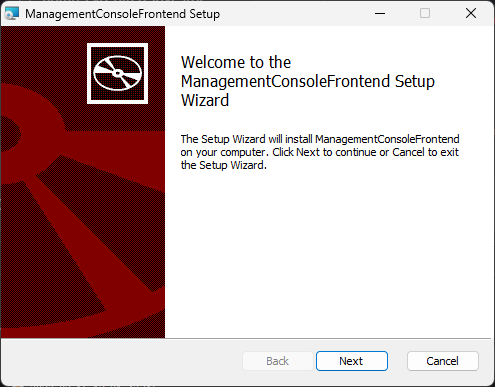
Select the installation location. We recommend leaving it at the default option. Click “Next”
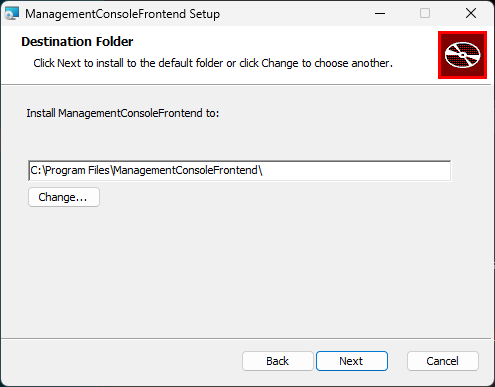
Click “Next” to proceed and grant admin privileges when prompted
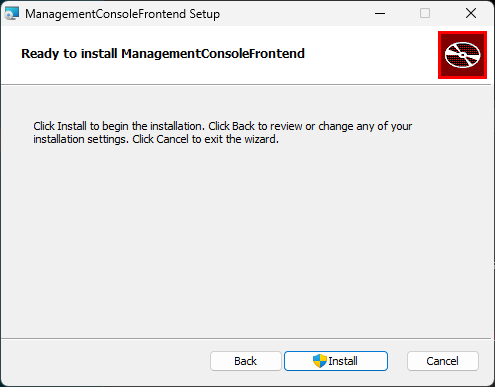
The installation was successful! Check the box “Launch ManagementConsoleFrontend” and click “Finish”
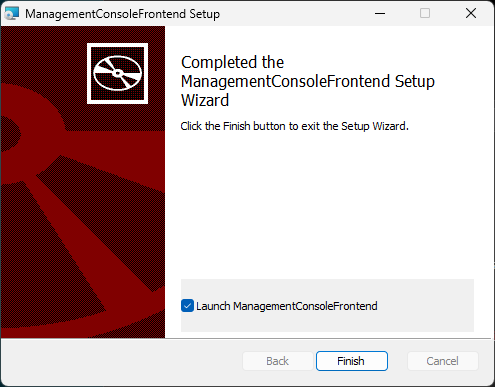
The Management Console will automatically open, and you can proceed to create an account.
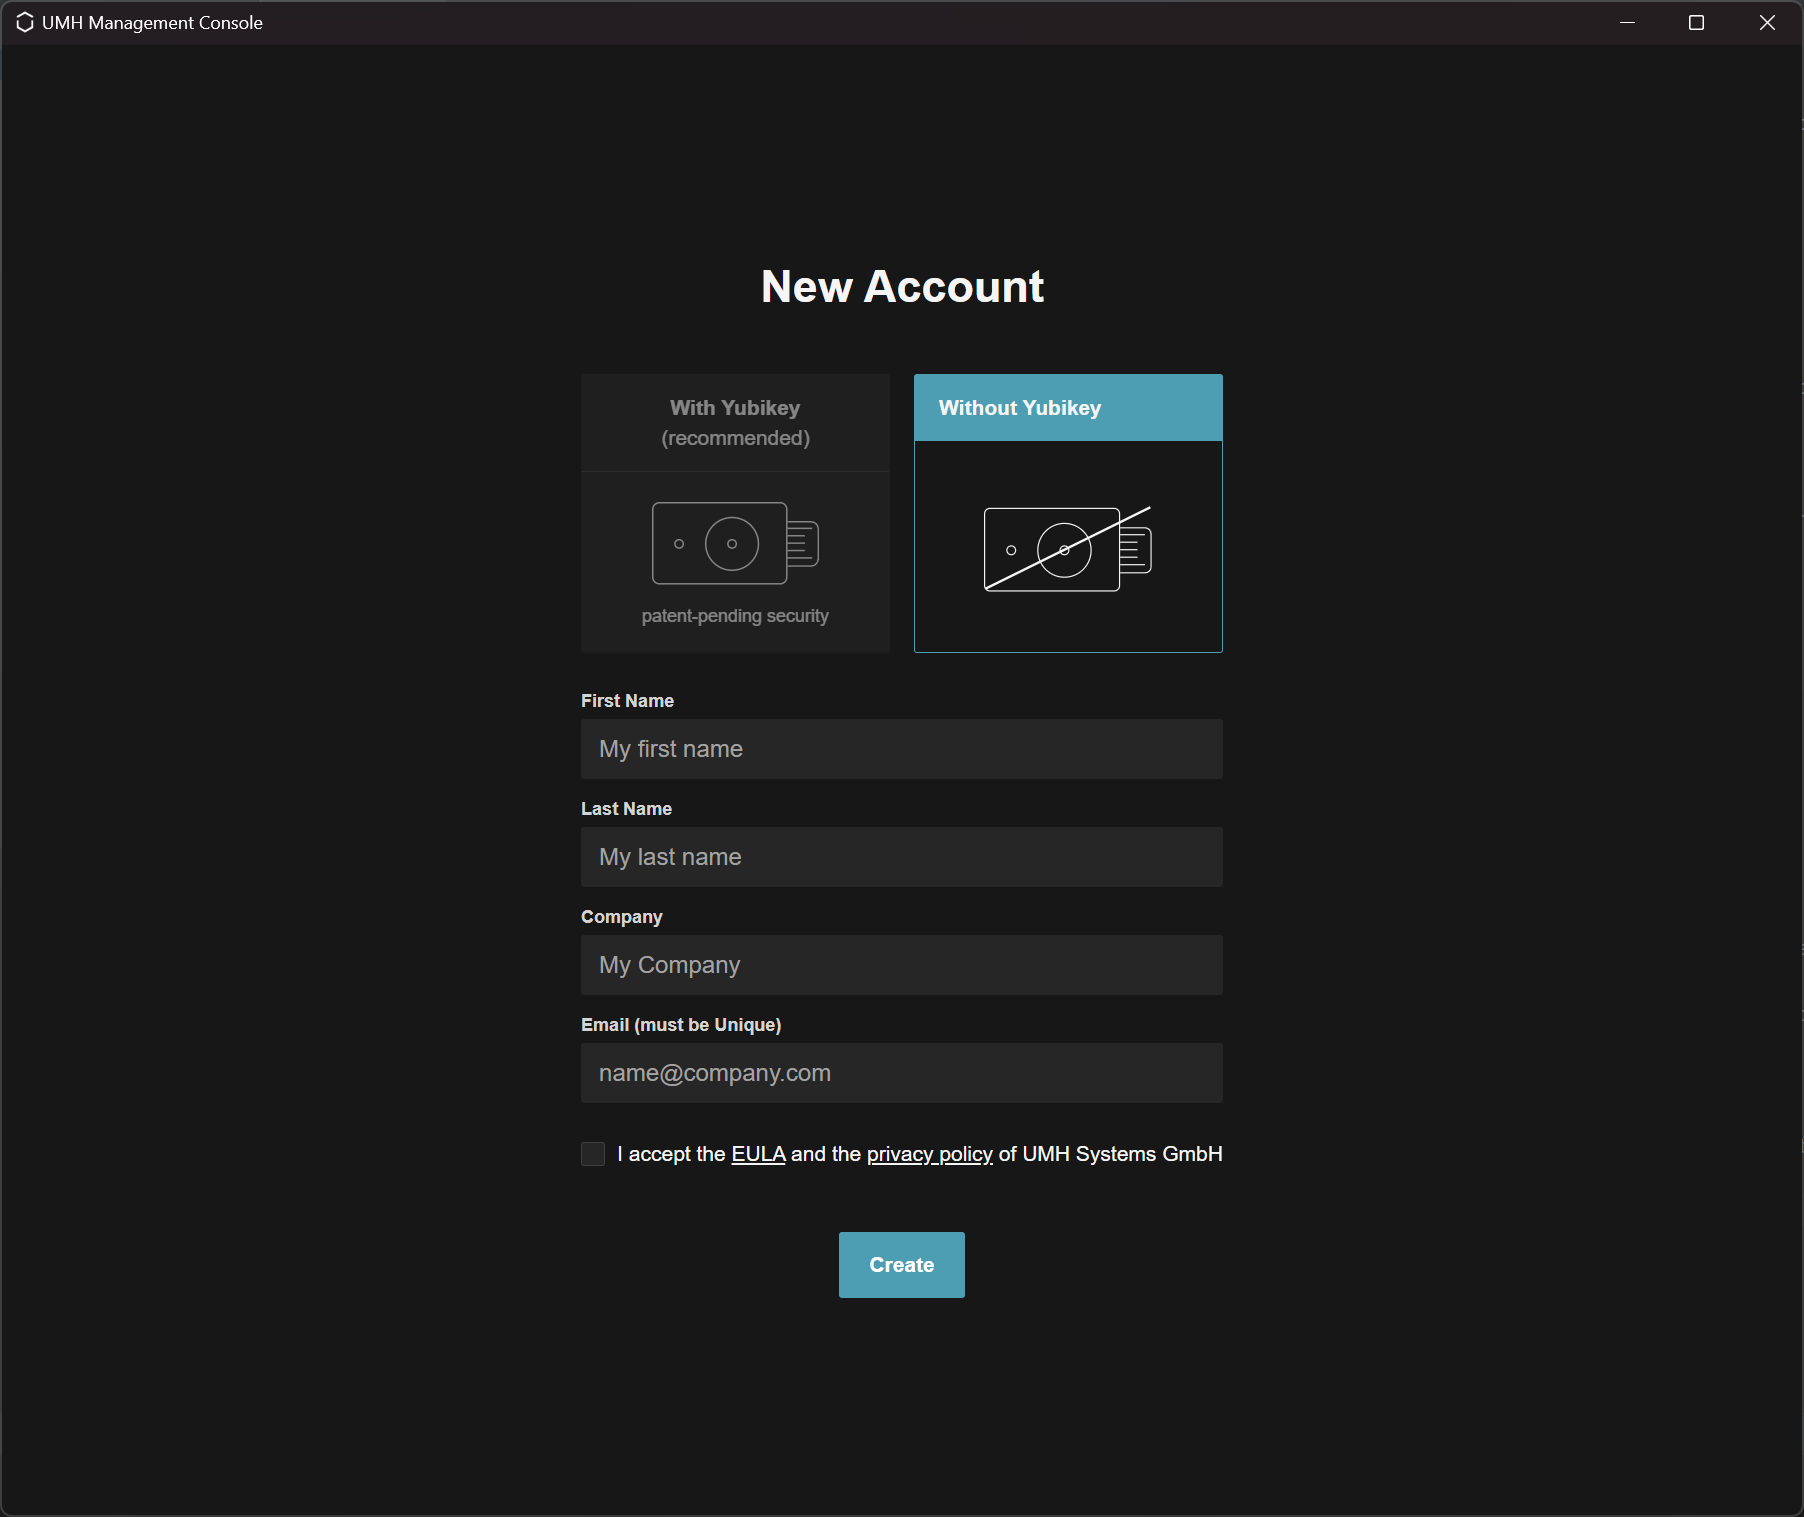
Creating an account
To create a new account, choose your authentication method (without Yubikey or with Yubikey (coming soon)), enter your first name, last name, company name, and email address. You will also need to agree to the general terms of use and privacy policy.
Please note that each email address can only be registered once. To reuse an existing account on a different computer, you will need to move your account

When you create an account, the Management Console generates certificates that will be used to identify you in the future when communicating with the Management Server or your instances. These certificates are also used to secure communication to prevent unauthorized access to your data and IT/OT infrastructure. The public part of these certificates is stored on our Management Server, which enables licensing.
What’s next?
After installation, you can set up the UMH locally on your computer.
If you need more information about the security concept behind the Management Console, please read our Security Concept section.